7.21.2011

guest blogger: jeni from in color order + how to choose colors

Today I am thrilled to my toes to introduce you to Jeni (and her bunny George!) of In Color Order!


Jeni's blog is one of those that I always read first in my Google Reader if she's got something new posted. Her content is unfailingly fresh, pretty, and always so beautifully photographed. Each of her posts makes me want to go sew something right! now! Her Flickr stream and vintage sheet Etsy shop are also utterly delicious, and fabrics from her shop frequently jump into my Etsy shopping cart of their own accord.
Add her to your reader -- you won't be disappointed!

Today Jeni is here with some tips on choosing colors for making awesome friendship bracelets. Take it away, girlfriend!


Personally, my favorite part about making Friendship Bracelets is choosing the colors! There are so many different colors of embroidery floss, it's like candy for crafters! I know however, that it can be overwhelming, especially since you're usually only choosing 4 or 5 colors! How do you narrow it down? I'm going to walk you through how I choose three different types of color palettes. I hope it makes it easier for you to put together your own color combinations!

1. Inspiration Fabric or Photo

This is my go-to method for choosing a color scheme. Find a fabric, photo, item of clothing, or any other object that has an appealing color scheme to you. If you can, take it along with you when you shop for floss and match colors to your item. Easy! For my scheme, I choose this plum Heather Ross Mendocino print. I choose colors from the background, the mermaid's hair, her tail, and the octopus. I ended up choosing the following DMC floss colors: very dark grape (154), dark mauve (3803), very dark cranberry (600), and dark straw (3820).

2. Monochromatic

Especially if you're doing a funky patterned bracelet, a monochromatic color scheme can create some cool effects! So, choose a color that you like, then choose the same color in different values (light--dark). And don't forget about neutrals! For my monochromatic scheme I went with gray. From light to dark I choose the following DMC floss colors: winter white (3865), ultra very light mocha brown (3866), very light brown gray (3024), light beaver gray (648).

3. Two-toned

If you still find yourself struggling to choose colors, this is a great, easy way to put together a color scheme. In this method, you're letting the floss do the work for you! Choose any two colors that you like. In my case I choose tangerine (740), and dark seagreen (958). Now, for the next two colors, I simply choose a lighter value of my first two colors. So to pair with tangerine, I choose medium tangerine (741). And for dark seagreen, I paired it with light seagreen (964)!


It's a lot easier, and more fun, to shop for floss in person. Most craft stores carry a good selection of floss! Don't be afraid to play around with different color combinations, it may take a few tries before you find something that you like! These are just a few of the many ways to put together color schemes! :)

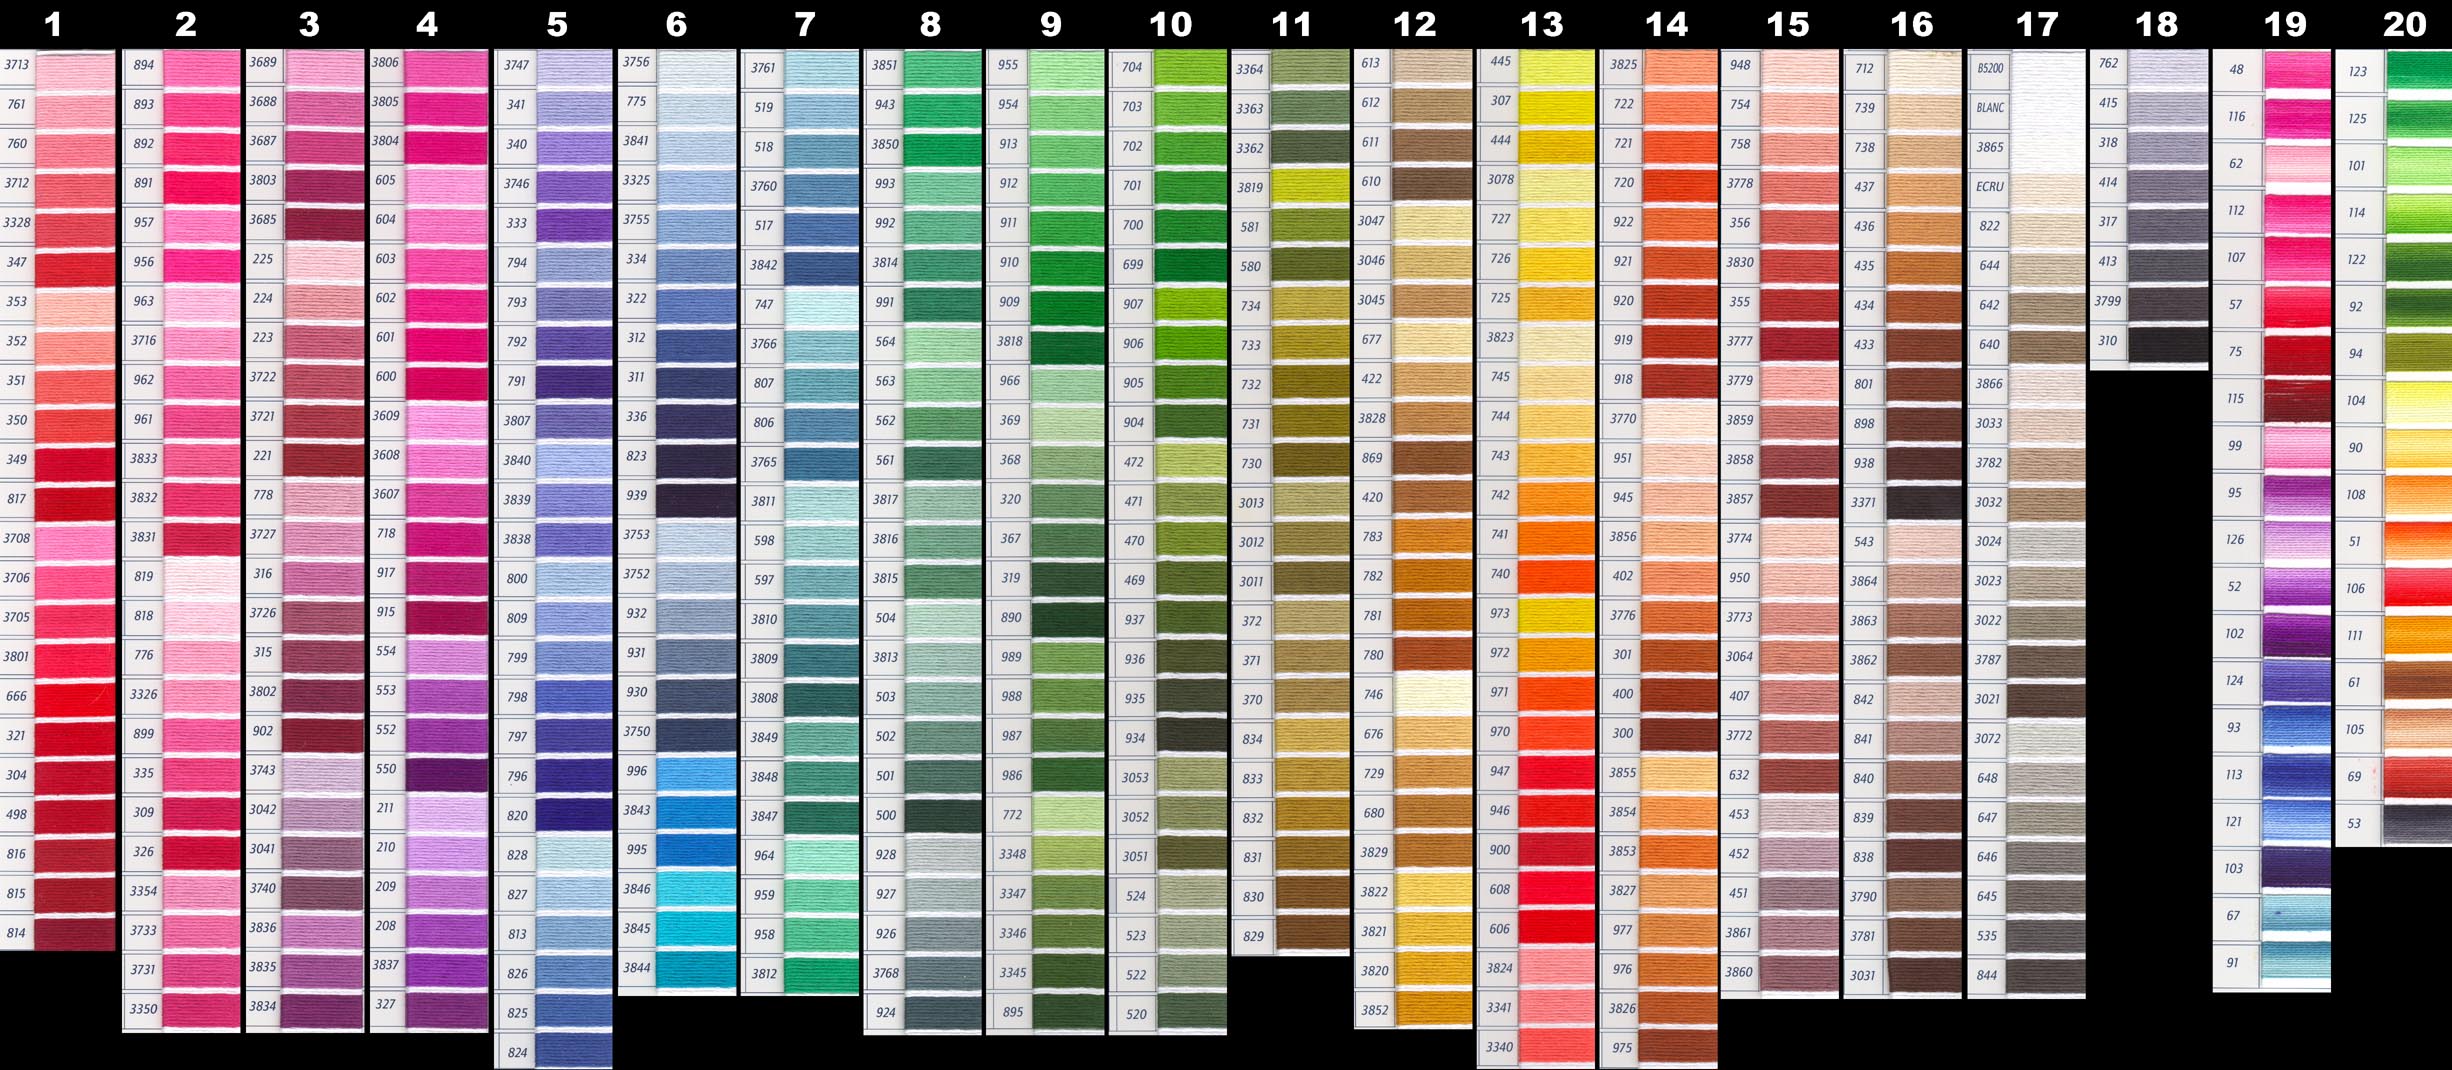
I would like to point out two great online resources if you're using DMC brand embroidery floss. The first is a Color Descriptions Chart. This lets you look up the floss by # and find the color name. The second is a Color Chart. You can see a preview of each color along with it's color #.

Thanks for sharing your color-choosing prowess with us, Jeni! Check out her series The Art of Choosing for a more in-depth discussion on color, fabric, and stash-building. Then jump on her Warm/Cool Quilt-Along! (See, I told you she's incredible.) 

Thanks for coming over, Jeni! Don't forget to visit Jenn to see what's cookin' at her place today!

7.20.2011

best snazzy pattern source + printable knot-tying cheat sheet

Just a short post today -- in case you're in the mood to venture beyond chevrons, friendship-bracelets.net is totally rad. There's tons of free patterns, but figuring out how to read them can be tricky. Here's a really useful tutorial on how to do just that.

You'll need to know a few basic knots before you can tackle most of the patterns. 
I've bumbled my way through a few of them so far, but I still need a little cheat sheet! 
Here's a little one just for you; you can scale it down to make it whatever size you prefer.


Now go get snazzy -- and don't forget to visit Jenn to see what she's got for today! 

7.19.2011

guest blogger: jenn from ruffled sunshine + friendship bracelet packaging printable

Happy Tuesday! Today Jenn is visiting from Ruffled Sunshine, aka the brains behind this operation! 

Jenn and I are pretty new friends, but we clicked right away + I was totally thrilled when she brought up the idea of doing a friendship bracelet swap together. If you haven't already subscribed to her darling + totally inspiring blog, you need to! Anyway, enough from me. Here's Jenn with a great post on packaging your friendship bracelets (and a free printable, to boot)!
Hello Friends!  I'm so excited to be here!  Amanda and I have been on pins and needles waiting to share the friendship bracelet swap with you guys and I'm so happy that you all are so excited about it too! My name is Jenn and I blog over at Ruffled Sunshine.  I share a little bit of what I've been up to from time to time.  I have a spunky little girl, Ivy that keeps me on my toes, but she is my biggest source of inspiration. 


Somehow our summer seems to be getting busier and busier.  It is our favorite time of year so we try to spend as many hours of the day outside as possible!  So I know when it comes time to mail my bracelets I'll be scrambling to have some cute packaging.  I took a few minutes this weekend to come up with a simple way to package up your friendship bracelets to your new friends.  Then you won't be scrambling if your summer is anything like ours!


I got to practice my photoshop skills {cuz they definitely need practicing} and used this letterpress tutorial from Pugly Pixel to make a sheet of cards.  


All you have to do is cut them up.  Easy peasy.
This one is for one of my good friends from college.  I wrote a little note too, to let my friend know I've been thinking of her.  


Then I used some of my Modern Marigold fabric tape to stick my bracelet right to the card.  It fit perfectly  in a card envelope so I sealed it up with a little more fabric tape and mailed it right away.  I got a little excited to send it so I forgot to take pictures.  Oh well!  

Sooo...
Don't forget to sign up for the bracelet swap!  And be sure to stop by some time.  I'd love to have you!

{and thanks Amanda for having me! xoxo}

Photobucket


Thanks for coming over, Jenn! Don't forget to email us to sign up for the swap!

7.18.2011


Hi there! I'm Amanda, and I love flowers and sunshine. I love finding frogs and bird's nests with my two little chickies. My favorite food is BREAD (mmm bread). I blog about vintage/modern style, sewing, and my domestic (mis?)adventures over at The Modern Marigold -- come visit, ok?

And do you know what else I love? Friendship bracelets, of course!
(Jenn is a genius for dreaming this swap up.)
And I'm so glad you decided to swap. (You emailed us, right? Right!)

I love wearing friendship bracelets, but I don't want to wear them 24/7. Although they would make awesome imprints on your face after you've slept on them all night {sah-weet!}. I couldn't really find any tutorials for how to make a button closure, so let's have at it, shall we?

First, you'll need to start your bracelet with a loop. 


{clockwise, from top left}
1. Cut embroidery floss to size. Fold in half.
2. Knot to form a small loop. This is your buttonhole.
3. Make the friendship bracelet {just pretend it's in the same colors, mkay?}
4. Braid an inch or so at the very end.


5. The braided inch.
6. Knot the end of the braid nice and tight.
7. Thread one strand through a needle.
8. Starting below the button, bring the strand up through a button hole.


9. Pull the strand through.
10. Send the needle back down through the button hole opposite.
11. Pull all the way through.
12. Pull so that the button is snug with the knotted braid.


13. Thread a second strand. Repeat steps 8-12 using the other two button holes.
14. Alternating button hole pairs, thread all remaining strands through the button.
15. Braid a nice little tail and knot tightly.
16. Et voila!

In case you want to try some different closure methods, here are 4 more ideas for making your bracelets removable:


{TIP: Remember to get your partner's wrist measurement if you use a non-adjustable closure method.}


Thanks for reading, friends, and thanks for having me over, Jenn! See you real soon!

it's friendship bracelet week!


Welcome to Friendship Bracelet Week 2011! {fireworks! applause! emotional hugs! yaaaaay!}

Are you excited yet?? I totally am. Jenn totally is. So let's talk about the swap so that you can get going on some rad bracelets, shall we?

Everyone is welcome to participate in the swap, whether this is your first swap ever
or whether you're a seasoned swap-vet, whether you're 9 or 99 years old...everyone.

To sign up, email us at

braceletswap@gmail.com

with your

NAME
email address
{and}
blog URL, if you have one

...and then get your knot on!! You will be making THREE bracelets to send to THREE new friends (so you'll send one bracelet to each person). Jenn and I will send you an email letting you know who your swap partners are, along with their contact info. It will be up to you to contact your new friends to get their snail mail addresses.

Signups are open through July 27th. We send you an email with your partners' info by July 29th,
and you'll need to mail your bracelets no later than August 5th.

We'll have lots of tutorials and links to some great friendship bracelet stuff over the week, but here's some resources to get you started!

Basic Chevron at Honestly...WTF
Stripes, Chevrons + Diamonds at The Purl Bee
Jenn's bracelet board
My bracelet board

Part of our goal for this swap is that everyone makes some new friends!
So let's all get to know our swap partners + get some happy new connections, mkay?


Spread the word! We want to get lots of new friends in on this! Grab a button for your blog, Facebook it, Tweet it, whatevah.

Don't forget to read Ruffled Sunshine and The Modern Marigold all week long for tons of friendship bracelet awesomeness!

Now get out there and get knotty! (bwa ha ha)

7.15.2011

swimming hole


Chalk one up for our cute little town: $5 for 4 weeks of swimming lessons at the pond/pool. It is the best.

(Little Miss M is tolerating her exclusion admirably well.)

on the work table

Yay for Friday! Anything fun going on? We are getting together with friends -- hopefully the bugs won't be too bad so we can hang out on the back porch and let the kids run wild in the yard.

My work table has been overflowing lately. I have no idea how many WIPs/UFOs I've got hanging around, and so many more wanna-makes than I could ever get to! It's the blessing and the cursing of the Internet. So many amazing people sharing so many amazing ideas!

This week, I've been working on new skirts for the shop...


Awesome mail yesterday -- an NPR postcard from Jentry (so jealous) and pretty new washi!

...and a lovely bundle of new floss in gorgeous, saturated colors for the friendship bracelet swap, thanks to the brand-new fancypants Jo Ann we just got in town, yee haw. I have been seeing color inspiration everywhere lately and think I might need to go back for more!


Have a happy weekend!